Spring Boot Project Setup
About
In this article, we will explore how to create Spring Boot Projecgt from scratch using Spring Starter
The process often involves configuring multiple settings, dependencies, and project structures, which can be time-consuming and error-prone.
Topics
Install IntelliJ IDEA
Download Intellij Idea from Jetbrains Idea Link here
You have the option to select the free-of-cost Community Edition and proceed with the installation
Create Base Project
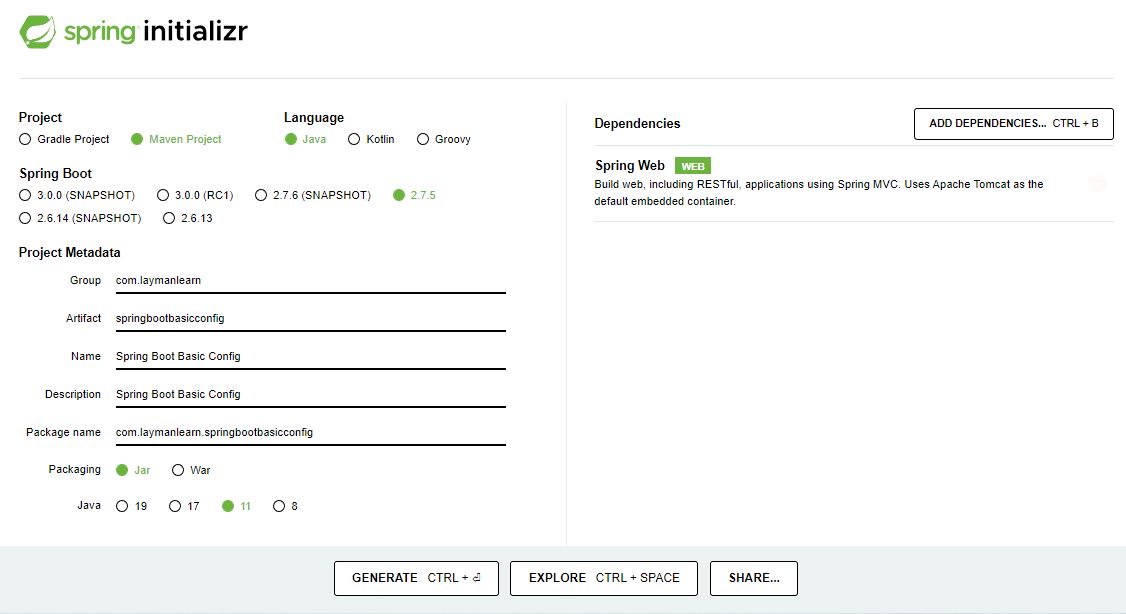
Creating Spring Boot/Java project is a work of olden days, Now we can generate base project structure by utilizing Spring Initializer(https://start.spring.io/)
Steps to follow
- Open Link
- Choose Java Version
- Choose Spring Boot Version
- Choose Build Type(Maven/Gradle)
- Add Dependencies as per the needs
Srping Initializer
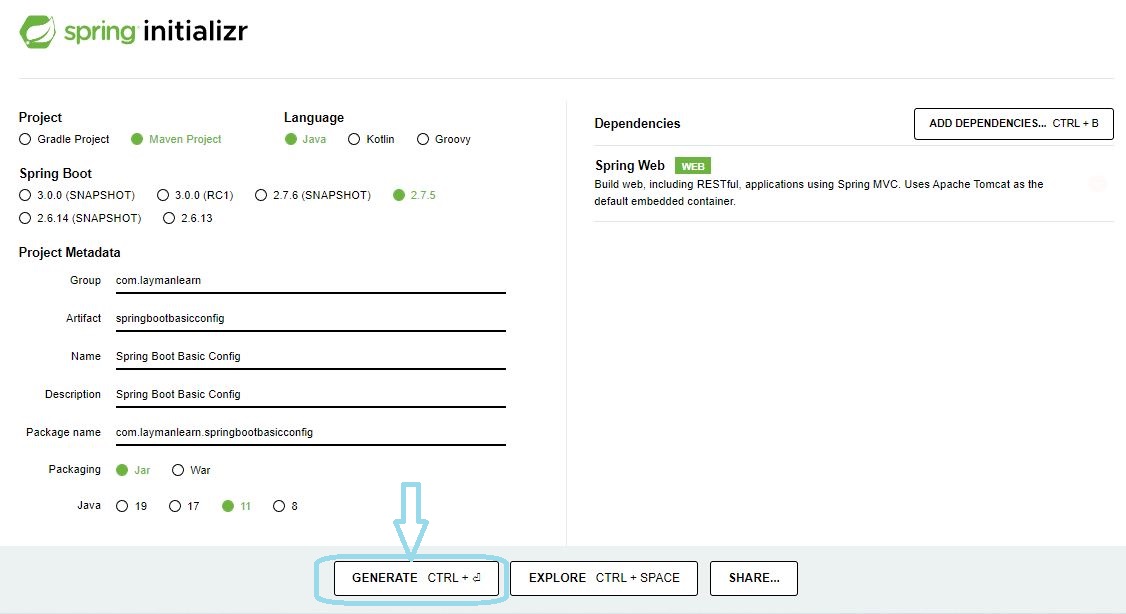
Download Spring Boot App by Clicking GENERATE CTL(Follow the image)
Open in IntelliJ
After generating and downloading the base project, you can easily load it into IntelliJ.
Simply navigate to 'Files' within IntelliJ and select the option to open an existing project, loading it as a Maven or Gradle project.
Application Configuration in application.properties/yml
Update application configs of name, path and port number
application.properties
   server.port=8083
   server.servlet.contextPath=/configapp
   spring.application.name = Spring Boot Config App
application.yml
   server:
      port: 8083
      servlet:
         contextPath: /configapp
   spring:
      application:
         name: Spring Boot Config App
Create Sample Controller
Now, let's create a sample controller that includes a GET method to display a welcome message
Here is a sample code snippet for reference:
Run Project
Now, we are all set to run the project and test the API.
Execute the project by navigating to the main class of the Spring Boot application and running the application.
Access Test API
Open a web browser and access the welcome API as follows: